

Blog
How To
How to Optimize Landing Pages for Better Conversions

Landing pages are where ad spend either pays off or disappears. A well-structured, conversion-optimized landing page can double or triple the return on every dollar you spend driving traffic — yet most ecommerce brands treat them as an afterthought.
The gap between a 1% and a 4% conversion rate on the same page often comes down to a few precise changes: a sharper headline, a faster load time, a form with one fewer field. These are not guesses — they are decisions backed by data.
This guide walks you through every step required to build and optimize a landing page that converts. Whether you are running Google Ads, Meta campaigns, or email flows, the same principles apply.
Follow each step in order. By the end, you will have a clear optimization checklist and a framework you can apply to any landing page on your store.
Prerequisites: What You Need Before You Start
Before you optimize anything, you need the right tools and baseline data in place. Optimizing without measurement is guessing — and guessing wastes budget.
Make sure every item below is ready before moving to Step 1. Skipping this stage is the most common reason optimization efforts stall after the first test.
- A live landing page with at least 500 monthly visitors (enough data to test meaningfully)
- Google Analytics 4 or an equivalent analytics platform with conversion tracking configured
- A heatmap and session recording tool — Hotjar and Microsoft Clarity are widely used options
- Access to your landing page builder or Shopify theme editor to make changes
- A clear definition of your primary conversion goal: purchase, sign-up, form submission, or call
- A spreadsheet or project doc to log hypotheses, test results, and changes made
Step 1: Audit Your Current Landing Page Performance
Purpose: Establish a performance baseline so every future change has something to beat. You cannot optimize what you have not measured.
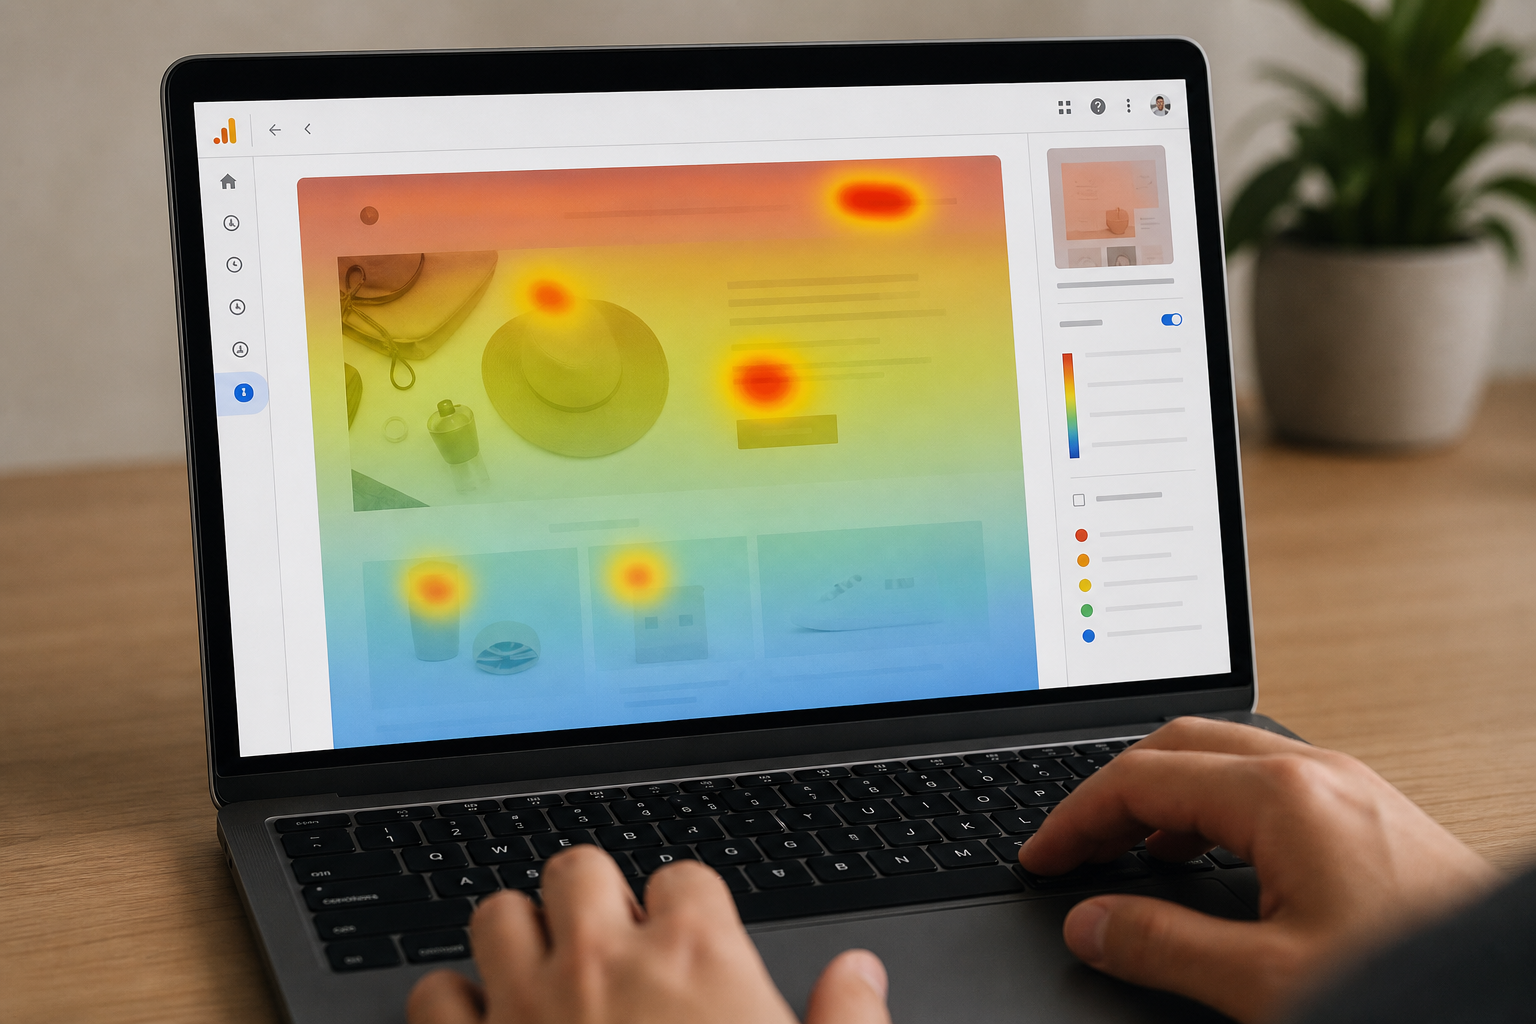
Start with quantitative data — conversion rate, bounce rate, average time on page, and scroll depth. Then layer in qualitative data from heatmaps and session recordings to understand why visitors are leaving.
Time estimate: 2 to 4 hours for a thorough audit.
- Pull your current conversion rate, bounce rate, and traffic source breakdown from GA4
- Review heatmaps to identify where users click, where they stop scrolling, and what they ignore
- Watch at least 10 session recordings to spot friction points — rage clicks, hesitation, form abandonment
- Run a web page analysis using Google PageSpeed Insights to capture your Core Web Vitals scores
- Document every finding in your tracking spreadsheet with a severity rating (high, medium, low)
Step 2: Align Your Message with Traffic Intent
Purpose: Close the message-match gap — the most common reason landing pages fail to convert. Visitors who click a Google Ad or email link arrive with a specific expectation. If the page does not immediately confirm it, they leave.
Every traffic source carries a different intent signal. A visitor from a branded search query is further along in their decision than someone from a broad social ad. Your headline, subheadline, and hero image must reflect that intent precisely.
Common mistake to avoid: Using the same landing page for every traffic source. A page optimized for Google Ads traffic should differ in tone and offer framing from one designed for email re-engagement.
- Map each traffic source (Google Ads, Meta, email, organic) to the intent level it represents
- Rewrite the headline so it mirrors the specific language used in the ad or email that sent the visitor
- Match the hero image or product visual to the exact product or offer referenced in the campaign
- Ensure the primary CTA button label reflects the next action — 'Get My Discount' outperforms 'Submit'
- Remove navigation menus and exit links that pull attention away from the single conversion goal
Step 3: Sharpen Your Copy and Value Proposition
Purpose: Give visitors a clear, specific reason to act now. Vague copy is the second-biggest conversion killer after poor message match.
Your value proposition should answer three questions in the first 5 seconds: What is this? Who is it for? Why does it matter to me? If a first-time visitor cannot answer all three without scrolling, the copy needs work.
Common mistake to avoid: Leading with features instead of outcomes. 'Free shipping on orders over $50' is a feature. 'Get it by Thursday — free' is an outcome visitors can picture.
- Write a headline that states the primary outcome the visitor will get, not what your product does
- Add a subheadline that names the audience and the key differentiator in one concise sentence
- Use bullet points to list 3 to 5 specific benefits — keep each under 12 words
- Place social proof (reviews, star ratings, customer count) within the first screen of content
- Use urgency and scarcity only when they are real — manufactured urgency destroys trust
Step 4: Optimize Your Landing Page Design and Layout
Purpose: Reduce visual friction so the visitor's eye moves naturally from headline to proof to CTA without distraction.
Landing page design is not about aesthetics — it is about directing attention. Every element on the page should either build confidence or push the visitor toward the conversion goal. Anything that does neither should be removed.
Time estimate: 4 to 8 hours for a full design review and iteration, depending on your landing page builder.
- Use a single-column layout on mobile — the majority of ecommerce traffic arrives on mobile devices
- Place your primary CTA button above the fold and repeat it after every major content section
- Use whitespace deliberately to separate sections and prevent cognitive overload
- Choose a contrasting color for your CTA button so it stands out from the rest of the page
- Ensure images load in WebP format and are compressed to under 200KB without visible quality loss
- Check that the page renders correctly on both iOS Safari and Android Chrome before publishing
Step 5: Optimize Forms to Increase Completions
Purpose: Remove every unnecessary barrier between the visitor's intent and your conversion goal. Forms are the final gate — and most of them ask for too much.
Every additional field in a form reduces the likelihood of completion. If your goal is a purchase or a lead, ask only for what you absolutely need to fulfill that goal. You can collect more information later.
Common mistake to avoid: Adding a 'Phone Number' field to a form when email is sufficient. Optional fields are still perceived as effort. Remove them.
- Audit every field in your form and delete any that are not essential to the immediate conversion
- Use inline validation so visitors see errors as they type, not after they hit submit
- Add a privacy micro-copy line near the submit button — 'We never share your data' reduces hesitation
- On mobile, set input fields to trigger the correct keyboard type (email, numeric, etc.)
- Test a multi-step form against a single-step form — multi-step often reduces perceived effort
Step 6: Improve Page Speed for Conversion Rate Gains
Purpose: Eliminate load-time drop-off before it costs you conversions. Speed is a direct conversion lever, not just a technical metric.
A landing page that takes more than 3 seconds to load loses a significant share of visitors before they see a single word of copy. On mobile, the threshold is even lower. Page speed affects both your conversion rate and your Quality Score in Google Ads — making it a dual priority.
Time estimate: 2 to 6 hours depending on how many performance issues the audit surfaces.
- Run your page through Google PageSpeed Insights and record your Largest Contentful Paint (LCP) score
- Compress and convert all images to WebP — unoptimized images are the most common speed bottleneck
- Defer non-critical JavaScript and remove unused scripts or third-party apps that fire on page load
- Enable lazy loading for images and videos that appear below the fold
- Use a CDN to serve assets from a location close to your visitor's geography
Step 7: Run Structured A/B Tests and Iterate
Purpose: Replace opinion with evidence. Structured testing is the only way to know with confidence what is lifting — or hurting — your conversion rate.
Test one variable at a time. If you change the headline and the CTA color in the same experiment, you cannot know which change drove the result. Discipline in test design is what separates real optimization from random changes.
Success criterion: You know your optimization is working when you have a statistically significant winner (95% confidence or above) that shows a measurable lift in your primary conversion goal — purchase, form submission, or sign-up — sustained over at least two weeks of traffic.
- Start with the element most likely to drive lift: headline, hero image, or primary CTA copy
- Set a minimum sample size before calling a test — most tools require 1,000 visitors per variant
- Run each test for at least two full weeks to account for day-of-week traffic variation
- Document every test result, including losing variants — losing tests contain the most useful insights
- After a winner is confirmed, move to the next highest-priority element and repeat the process
- Review your full testing roadmap quarterly and reprioritize based on new audit findings
| Page Element | Common Mistake | Optimized Approach | Expected Impact |
|---|---|---|---|
| Headline | Generic brand name or product title | Outcome-led statement matching ad intent | Higher message match, lower bounce rate |
| CTA Button | 'Submit' or 'Click Here' | Action-specific label: 'Get My Free Quote' | Improved click-through to conversion |
| Form Length | 6+ fields including optional inputs | 3 fields maximum for primary conversion | Up to 50% increase in form completions |
| Images | Large uncompressed JPEGs above the fold | WebP format, compressed under 200KB | Faster LCP, reduced early exit rate |
| Social Proof | Hidden below the fold or absent | Star ratings and review count in hero section | Increased trust, higher conversion rate |
| Page Speed | Unused apps and scripts loading on entry | Deferred JS, CDN-served assets, lazy load | Lower bounce rate, better Google Ads score |
Frequently Asked Questions
-
How to optimize a landing page for conversions?
Start by auditing your current conversion rate and identifying where visitors drop off using heatmaps and session recordings. Then align your headline with traffic intent, simplify your form, improve page speed, and run structured A/B tests one element at a time. Agencies like StoreHQ, which has worked with 200+ Shopify stores, apply this same process to ecommerce landing pages with measurable results. -
What is a landing page on a website?
A landing page is a standalone web page designed to receive traffic from a specific source — such as a Google Ad, email campaign, or social post — and convert that traffic toward a single goal. Unlike a homepage, a landing page removes navigation and distractions to focus the visitor entirely on one action: a purchase, sign-up, or form submission. -
How do landing pages contribute to conversion rate optimization?
Landing pages isolate a single conversion goal, which makes it possible to test, measure, and improve each element without the noise of a full website. Because every visitor arrives with a known intent from a specific source, landing pages give CRO practitioners the cleanest environment to run experiments and achieve statistically reliable results faster than site-wide testing. -
How to optimize my landing page forms to increase completions?
Reduce the number of fields to only what is essential for the conversion — typically name and email for lead gen, or just email for a sign-up page. Add inline validation, include a short privacy reassurance near the submit button, and test a multi-step format against a single-step form. Each reduction in perceived effort tends to increase completion rates meaningfully. -
What role does landing page optimization play in reducing customer acquisition costs?
A higher conversion rate means you get more conversions from the same ad spend, which directly lowers your cost per acquisition. For example, doubling your conversion rate from 2% to 4% effectively cuts your customer acquisition cost in half without changing your media budget. Landing page CRO is one of the highest-leverage levers available to performance marketers. -
How to optimize landing pages for Google Ads?
Match your landing page headline and offer exactly to the ad copy and keyword that triggered the click — this is called message match. Remove site navigation to keep visitors focused. Improve your page speed to boost your Quality Score, which Google uses to determine your ad rank and cost-per-click. A higher Quality Score lowers your cost per click and improves ad placement simultaneously. -
What is the difference between landing page optimization and general on-page SEO?
On-page SEO focuses on making a page rank higher in organic search by optimizing content, headings, metadata, and internal linking for search engine algorithms. Landing page optimization focuses on converting the visitors who already arrive — through copy, design, speed, and testing. Both matter, but they address different stages: SEO drives traffic, CRO converts it. -
What are the best landing page examples to learn from?
The most instructive landing page examples share four traits: a clear, outcome-led headline above the fold; social proof placed within the first screen; a single, high-contrast CTA; and no navigation links. Ecommerce and SaaS landing pages built for paid traffic tend to demonstrate these principles most consistently because every wasted element directly costs the business money.